


How to Install Railing Pickets on the Outside of Stairs
di Maddison Mellem il Aug 01, 2025Shop Railing Pickets & Balusters
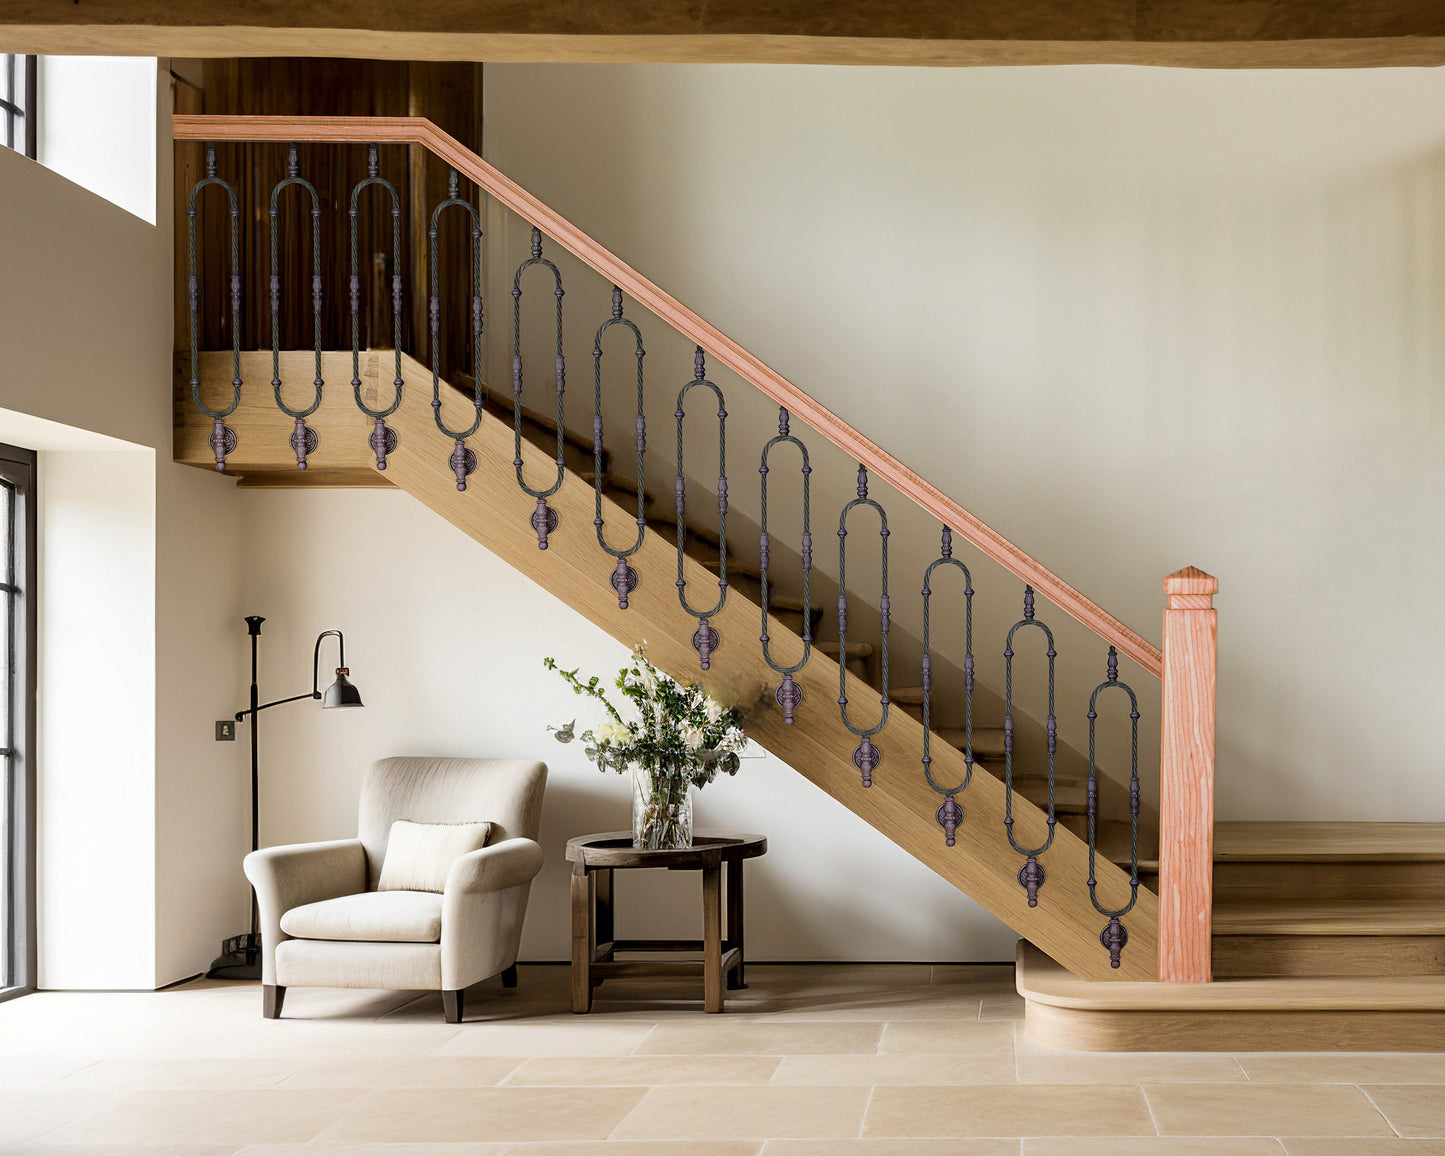
Whether you're building a rustic porch, updating a timber staircase, or adding ironwork to a front entry, railing pickets mounted on the outside of stair stringers offer a clean, strong, and visually striking solution. At Old West Iron, we craft forged pickets that are built to last and easy to install—with the right plan.
Here’s a straightforward guide to installing your stair pickets on the outside face of the stringer (or skirt board), giving your staircase strength and classic curb appeal.

What You’ll Need:
-
Forged pickets or spindles (evenly spaced per your design)
-
Mounting screws or lag bolts (typically included or available with pickets)
-
Power drill and appropriate drill bits
-
Tape measure
-
Level
-
Pencil or chalk for marking
-
Optional: brackets, decorative collars, or rail shoes
Step 1: Plan Your Layout
Start by measuring the total run of your stairs and decide how many pickets you'll need. A good rule of thumb is one picket every 4 to 6 inches, depending on local code and design preference.
When mounting on the outside of the stringer, measure from the top stair nose to the bottom tread and match the pitch of the rail line to determine picket angles if needed.
Tip: Use a chalk line or straightedge to mark the picket line along the outside of the stair stringer or trim board.
Step 2: Pre-Drill Mounting Holes
Hold each picket in place against the outside face of the stringer, keeping it vertically level. Mark your mounting holes with a pencil. Pre-drill to prevent wood splitting—especially with hardwood or thick structural trim.
Optional: If your pickets include base collars or brackets, mark hole locations through those for accuracy.
Step 3: Attach Pickets
Using matching lag bolts, screws, or decorative fasteners, attach each picket to the outside of the stringer. Begin at the bottom and work your way up, checking for level alignment as you go.
At Old West Iron, we offer matching hardware and finishes so your fasteners don’t distract from the beauty of the ironwork.
Step 4: Secure the Top Railing
Once your pickets are installed, position your handrail over the tops. Depending on your design, the handrail may sit in a channel, be screwed directly into the pickets, or use custom iron brackets.
Mark and pre-drill any mounting points. Then, secure the rail using your chosen method and check alignment from multiple angles to ensure a smooth pitch.
Final Touches
-
Clean off any chalk or pencil lines
-
Apply touch-up paint or clear sealer to match your finish
-
For raw or antique-finished iron, apply a rust inhibitor or wax seal if exposed to the elements
-
Double-check all fasteners for security before use
Why Install on the Outside?
Mounting pickets on the outside of the stair stringer offers several advantages:
✔️ Cleaner tread surfaces—no bolts on walking path
✔️ Easier installation—no working between treads or tight angles
✔️ Enhanced design impact—show off those forged picket shapes
✔️ Greater strength and leverage when secured into the side structure
Ready to get started?
Explore our full Balusters, Pickets & Spindles Collection to find hand-forged ironwork that blends form, function, and frontier character.
Old West Iron: Built to stand tall. Forged to stand out.