

Have questions about your installation? Need help troubleshooting your speakeasy door or grill project? Our expert customer service team is only a call or message away. We're here to ensure your installation experience is as smooth as possible.
If you’ve been dreaming of adding timeless elegance and functionality to your home or client projects, installing a speakeasy door or grill is the perfect solution. These historic design features not only evoke the charm of the Prohibition era but also add privacy, security, and a hefty dose of style to any entrance.
Whether you’re a seasoned contractor, an enthusiastic DIYer, or a homeowner exploring this type of project for the first time, this guide has everything you need. By the end of this tutorial, you’ll know how to expertly install a speakeasy door, a speakeasy grill, or even a set with a flange for that polished, professional look.
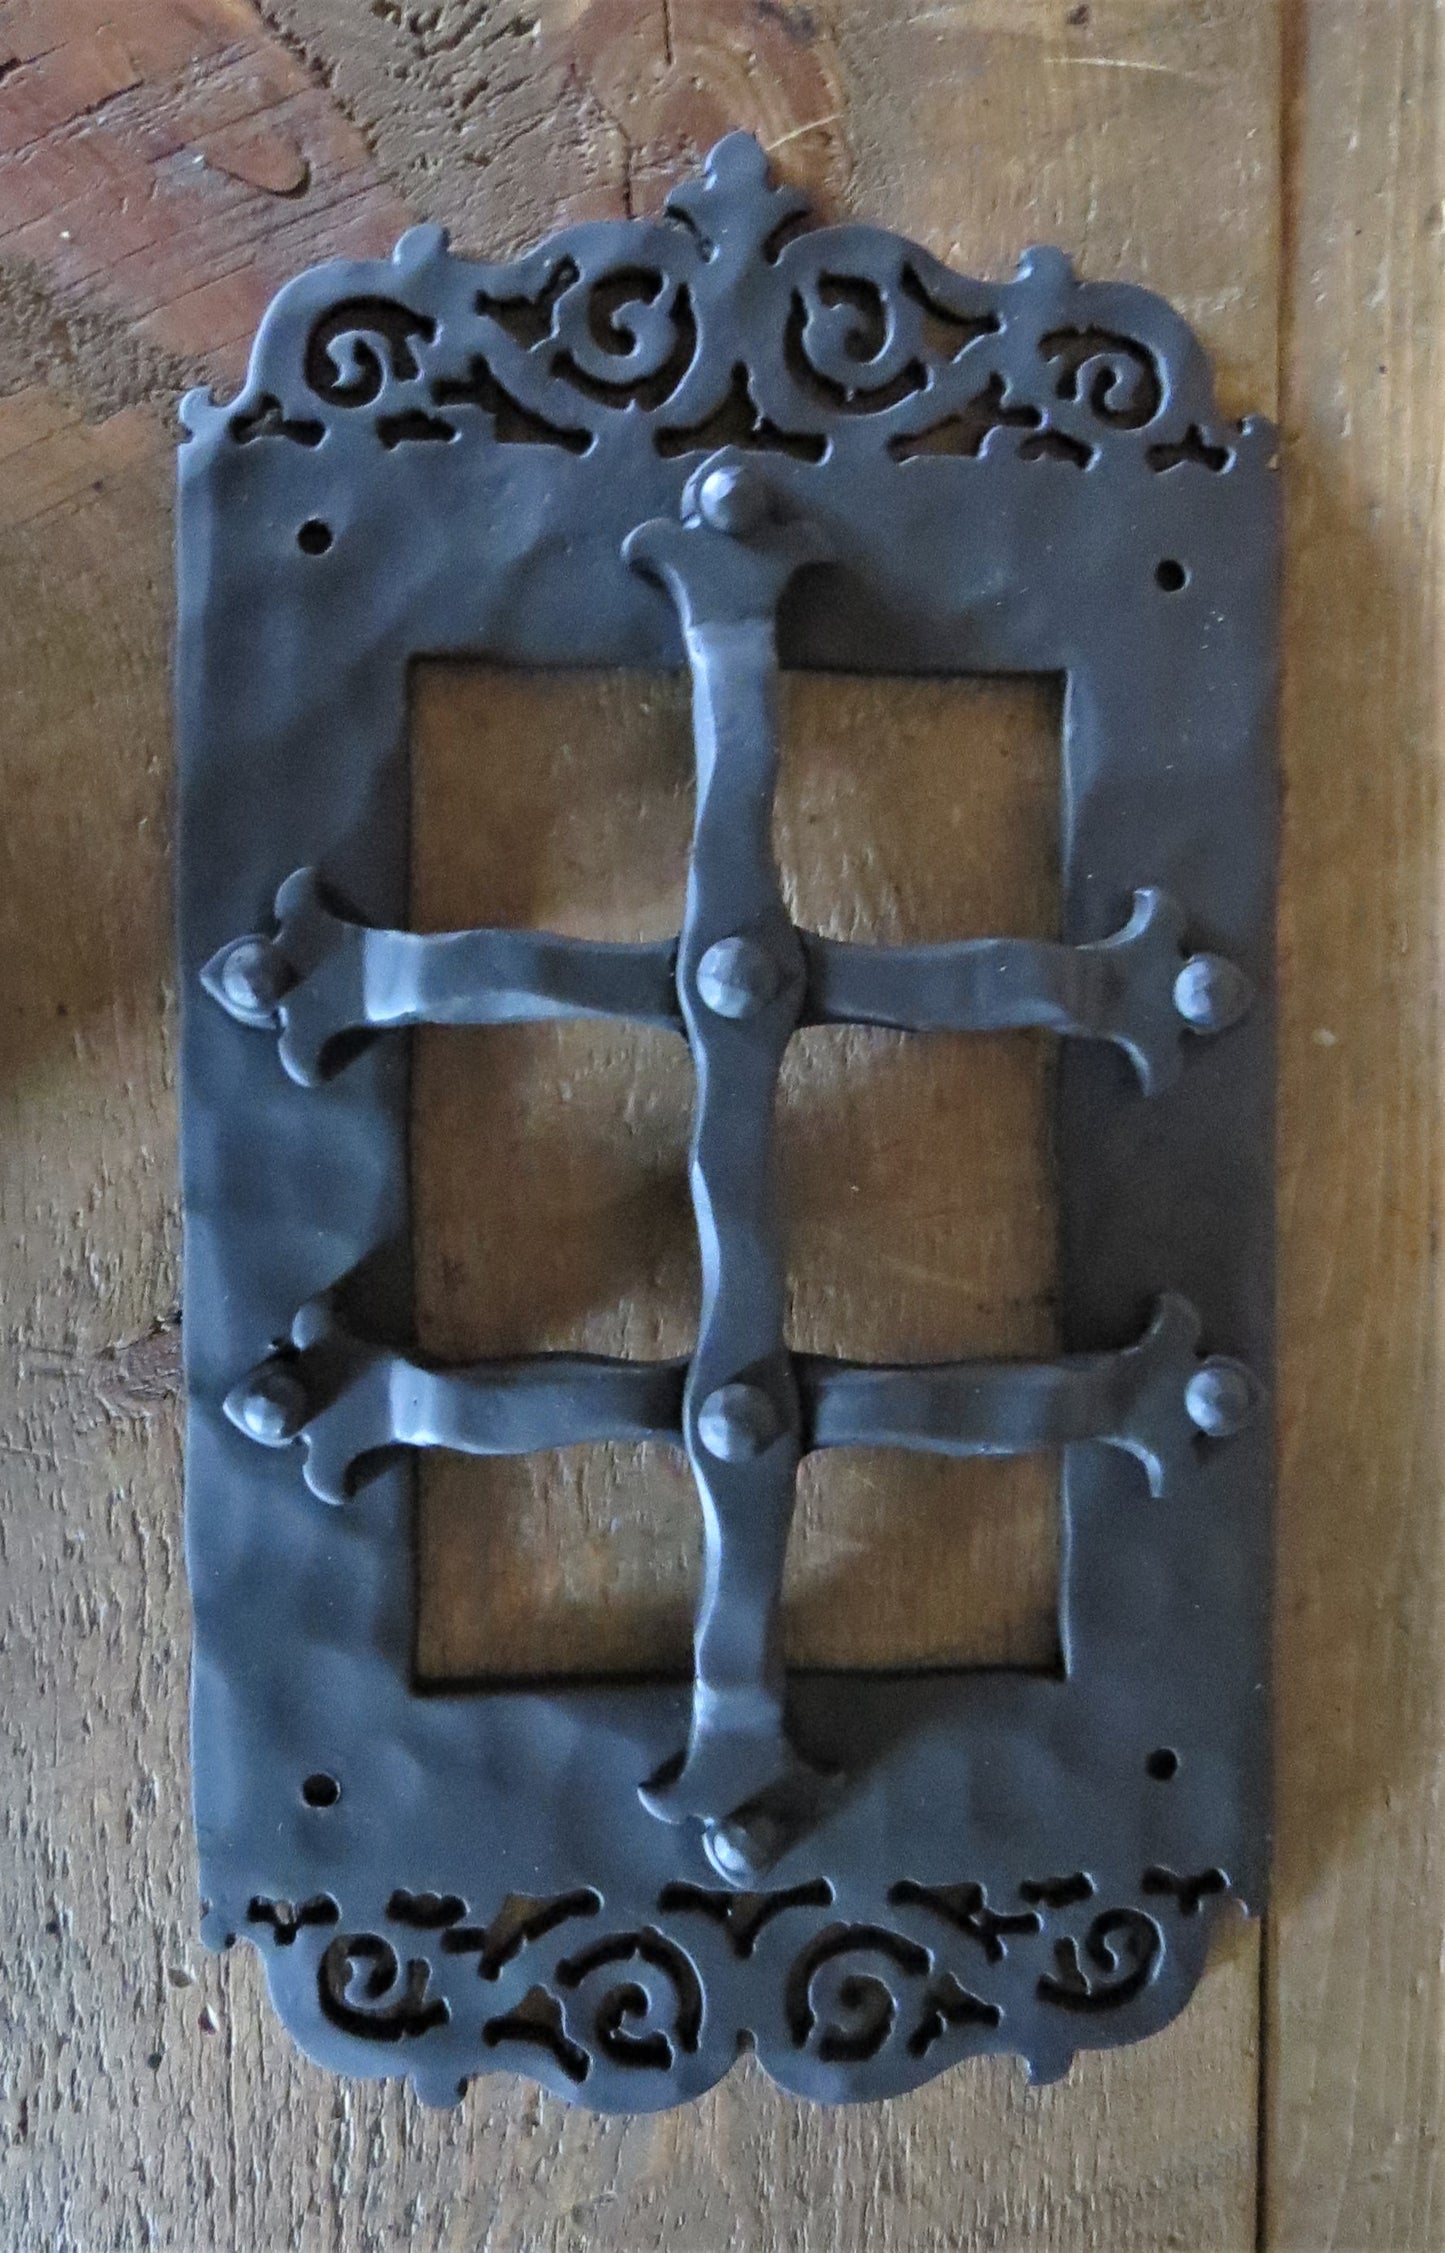
How to Install a Speakeasy Door
Step 1: Prepare Your Materials
Before beginning, ensure you have all the tools and materials on hand. Here's what you'll need:
- A speakeasy door (size of your choice)
- Measuring tape
- Drill and bits
- Fasteners or hardware (appropriate to your door thickness)
- Sandpaper
- Level
Step 2: Mark the Cutout Area
Using your speakeasy door as a template, decide where the insert will be placed on your existing door. Mark the dimensions of the speakeasy with a pencil and double-check your measurements for accuracy. The level will ensure the design looks straight and even.
Step 3: Cut the Opening
Carefully use a jigsaw to cut out the area for the speakeasy door. Once cut, smooth the edges using sandpaper to ensure there are no splinters or rough surfaces that could interfere with installation.
Step 4: Attach the Hinges
If your speakeasy door came with pre-installed hinges, test-fit it into place. If not, attach the hinges securely to the door frame and ensure they align perfectly.
Step 5: Secure the Door
Position the speakeasy door into place and secure it using the provided fasteners or screws. Test the opening and closing functionality to ensure it operates smoothly. Adjustments may be needed to align your hinges properly.
Pro Tip: Use security screws for added protection, or consider bolting for maximum durability.

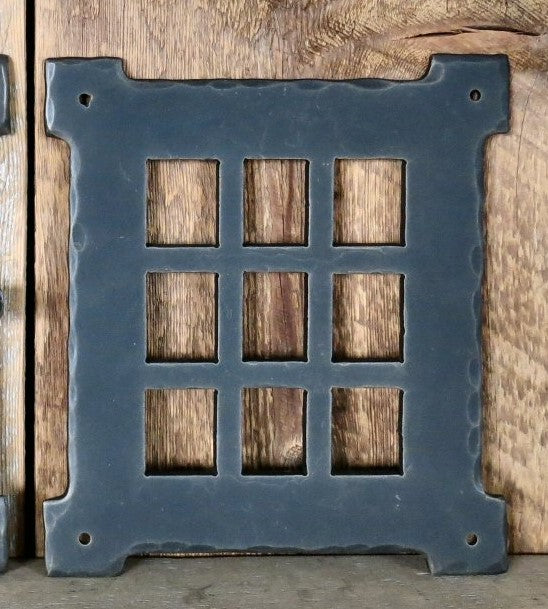
How to Install a Speakeasy Grill
Step 1: Select the Grill Placement
Identify where you'd like the grill to sit on your existing door. Most grills are installed at eye level to allow for visuals while maintaining privacy.
Step 2: Mark and Check Measurements
Like the speakeasy door, you’ll want to mark where the grill will be installed. Align it using a level to make sure it looks symmetrical.
Step 3: Drill Pilot Holes
If your grill requires fasteners or screws, drill pilot holes at the marked locations. This step will prevent splitting or cracking your door.
Step 4: Install the Grill
Secure the grill into place with the provided fasteners. Be careful not to overtighten these screws, as doing so may damage the grill or leave marks on its surface.
For an added decorative effect, opt for a grill that complements your existing door's finish for a cohesive look.
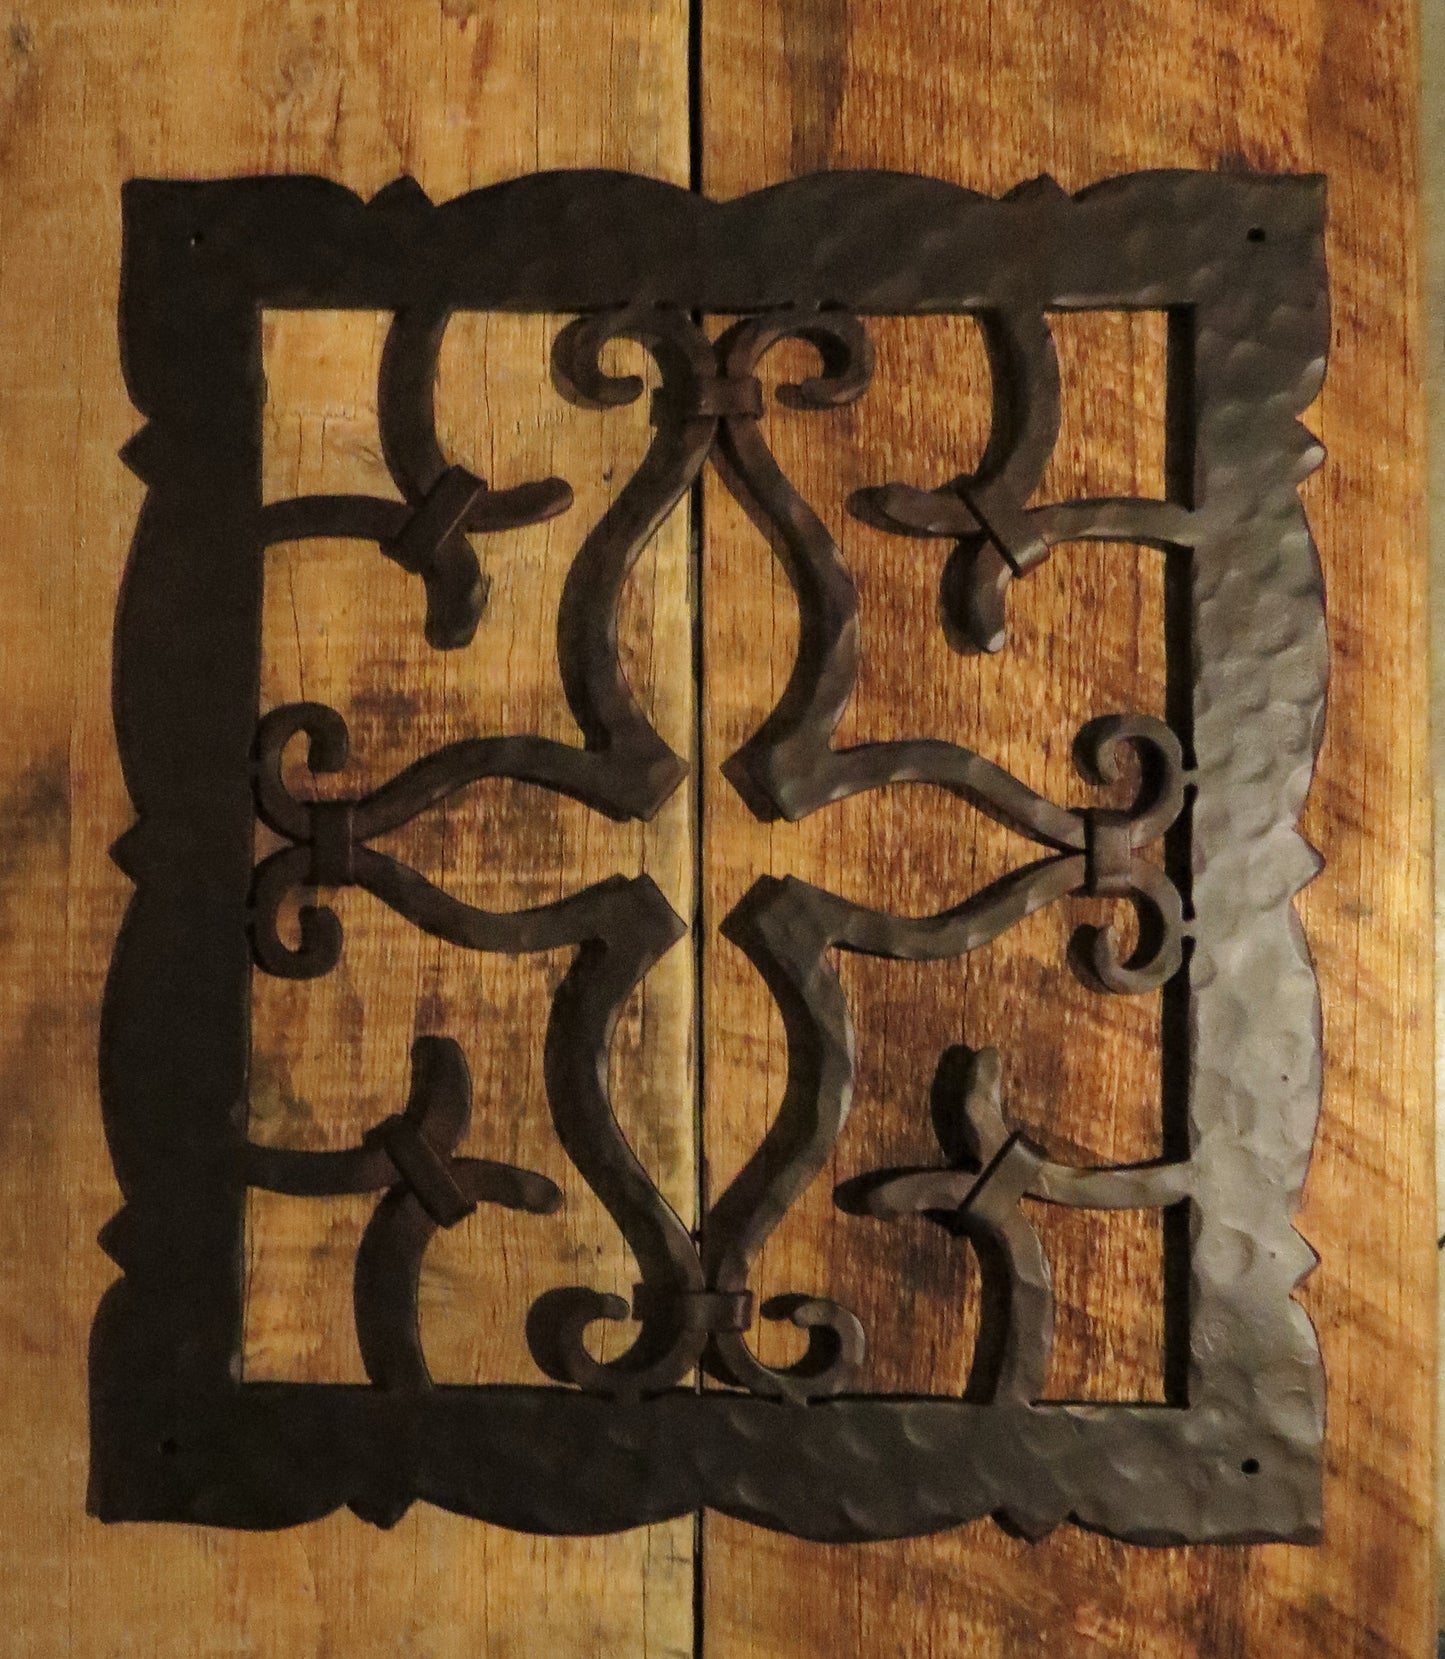
How to Install a Door or Grill with a Flange
Many speakeasy door and grill sets include a flange, which serves to protect the edges and provide a more finished appearance.
Step 1: Align the Flange
Begin by placing the flange around the perimeter of the door or grill opening. Check its position and fit to confirm everything lines up perfectly.
Step 2: Pre-Drill Holes
Flanges often come with pre-drilled holes for easy installation. If not, mark and pre-drill your own pilot holes at equal intervals to secure the flange.
Step 3: Attach the Flange
Secure the flange using screws or bolts. Tighten them evenly around the perimeter for a consistent fit.
Step 4: Add the Door or Grill
Once the flange is in place, install the door or grill following the steps outlined above. The flange provides additional support and can elevate the final look of your project.
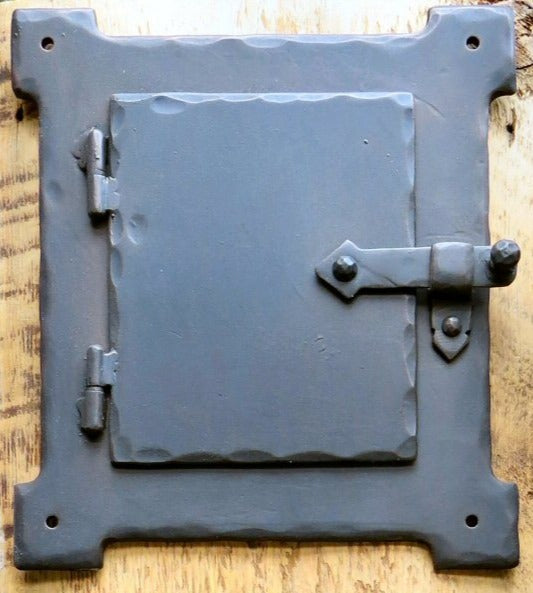
How to Install a Speakeasy Door and Grill Set
Installing a matching speakeasy door and grill is a straightforward process when you follow an organized approach.
- Cut the Opening: Start by cutting the required space for both the speakeasy door and grill. Measure and mark both areas properly.
- Install the Grill: Attach your grill first, ensuring it aligns correctly within the cutout. This will act as the visual “window” of your speakeasy door.
- Install the Door: Once the grill is in place, mount the speakeasy door over it. Ensure it’s flush against the door surface and check for proper alignment.
- Secure with Fasteners: Use sturdy fasteners to lock both pieces in place. Adjust as needed to ensure the door opens and closes without resistance.
This setup provides both a functional and visually striking upgrade to your door.
Fastener Tips
When it comes to securing your speakeasy installation, using the right fasteners is key. Here are some important points to consider:
- Match Fastener Length to Door Thickness
Using fasteners that are longer than your door thickness can result in visible and unsightly screw tips on the opposite side. Measure your door carefully and choose fasteners accordingly.
- Security Screws for Added Protection
If using security screws, make sure they’re installed carefully. While they’re harder to remove for added protection, improper installation can make adjustments difficult.
- Bolting for Ultimate Stability
Bolting is one of the most secure ways to fasten your door or grill. Opt for bolts in cases where maximum durability is needed, such as for external doors exposed to the elements.

Our Customer Service Team is Here to Help!
Have questions about your installation? Need help troubleshooting your speakeasy door or grill project? Our expert customer service team is only a call or message away. We're here to ensure your installation experience is as smooth as possible.