

Installing a hinged pizza oven door is a small project with big returns. From enhanced heat retention to a safer, more convenient cooking experience, it’s an upgrade every pizza oven owner should consider. Plus, with the ability to do it yourself, you gain the satisfaction of knowing you’ve contributed to the ultimate backyard culinary setup.
Nothing beats the warm, smoky aroma of freshly baked pizza wafting through your backyard. Whether you're hosting a pizza night with friends or enjoying a quiet family dinner, a pizza oven is an excellent addition to your home. But to truly maximize its potential, the right door matters. Hinged pizza oven doors not only enhance convenience but also improve oven efficiency.
This guide will walk you through everything you need to know about hinged pizza oven doors, from their benefits to step-by-step installation instructions, with a few expert tips along the way.

The Benefits of Building Your Own Pizza Oven
Why DIY Your Pizza Oven?
For many enthusiasts, building a pizza oven is both a creative project and a cost-saving measure. Plus, it offers a sense of pride every time you pull out a perfectly charred pizza straight from your creation!
- Cost-effectiveness: Prefabricated ovens can be pricey, but do-it-yourself kits and materials often cost far less.
- Personalization: You have full control over design, materials, and functionality.
- Skill Growth: Building your oven enhances DIY skills, giving you confidence for future projects.
Getting the Most from Your Oven with Hinged Doors
While a pizza oven’s design plays a major role in heat distribution and cooking performance, the door is just as critical. Installing hinged doors can make a significant difference in:
- Heat Retention: Hinged doors help seal heat inside more effectively, maintaining consistent cooking temperatures.
- Precision Cooking: Hinged designs allow for controlled air circulation, crucial when switching between high-heat pizza baking and slow-roasting meats.
- Convenience: No more losing your oven door! Hinged doors stay attached, ensuring easy opening and closing during busy cooking sessions.
- Safety: Fixed doors reduce risks of handling heavy components or accidentally dropping the door on the ground.
Now that you know why hinged doors are a great addition, let's get to the fun part—installing them!
How to Install a Hinged Pizza Oven Door
Materials and Tools You’ll Need
Before starting, ensure you have all these items handy:
Materials:
- Hinged pizza oven door (pre-purchased or custom-fabricated)
- High-temperature resistant screws or bolts
- Heat-resistant sealant or gasket tape
- Masonry drill bit
Tools:
- Measuring tape
- Screwdriver
- Power drill
- Level
- Safety gloves and goggles
Step 1: Measure the Oven Opening
Begin by measuring the dimensions of your door opening. Precision is key here to ensure a snug fit. Measure:
- Width at the widest point of the opening
- Height from the base to the top curve of the arch
Verify these dimensions with the specifications of your hinged door to prevent gaps or misalignment.
Step 2: Align the Door Frame
Most hinged doors come pre-attached to a frame, flange, or mounting bracket. Place the door and its frame against the oven opening to test the fit. Use a level to check that the frame is perfectly horizontal. If the oven surface is uneven, use a small wedge to balance the door temporarily while you work.
Step 3: Mark Drill Points
Once aligned, mark where the screws or bolts need to be placed. These holes will attach the door flange securely to the oven surface. Ensure the markings are evenly spaced and positioned for a tight and stable installation.
Step 4: Drill Holes
Using a masonry drill bit, carefully drill into the points you marked earlier. Wear gloves and goggles for safety, as small chips of masonry may release during this step. You may prefer to wet your masonry before or continuously during drilling to reduce dust. Ensure the holes are deep enough to accommodate the screws or bolts.
Step 5: Attach the Hinged Door
Apply heat-resistant sealant or gasket tape to the edges of the door frame to ensure proper insulation. Then, align the frame with the drilled holes and fasten it securely using screws or bolts and masonry anchors. Tighten each screw evenly to prevent wobbling or gaps.
Step 6: Test Door Movement
Open and close the hinged door multiple times to check for smooth motion and proper fit. Adjust the tension on the screws if the movement feels stiff. Ensure there are no gaps between the door and the oven surface, as these can allow heat to escape.
Pro Tips for a Seamless Installation
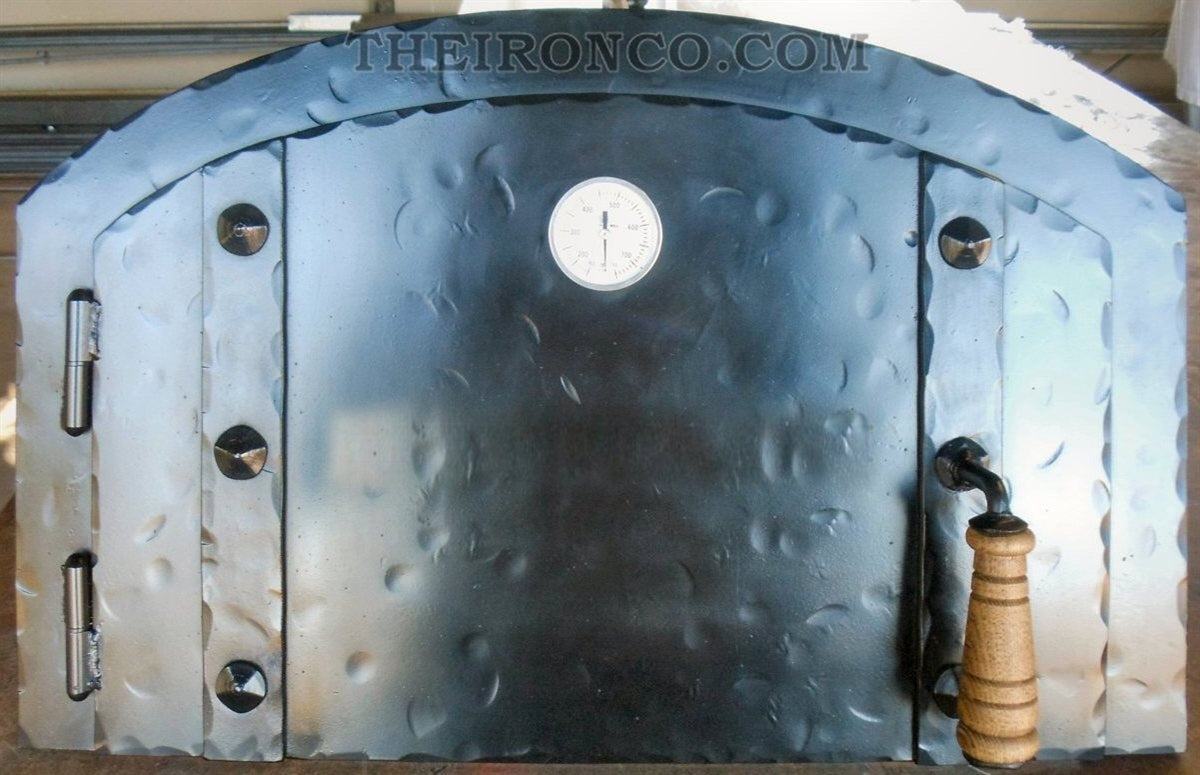
Pick the Right Door Material
For the best heat retention and durability, choose hinged doors made from cast iron, mild steel, or stainless steel. These materials withstand high temperatures and are resistant to wear.
Incorporate a View Window
Look for doors with a built-in heat-resistant glass window. This allows you to monitor your pizzas or roasts without opening the door and losing precious heat.
Maintain Your Hinges
To ensure long-lasting performance, periodically inspect the hinges for dust, rust, or wear. Add a small amount of high-temperature grease to keep them moving smoothly.
Add Insulation Around the Door
If you feel heat escaping through the door edges, consider adding a secondary layer of insulation, such as ceramic fiber tape. This will improve your oven's efficiency and reduce fuel consumption.
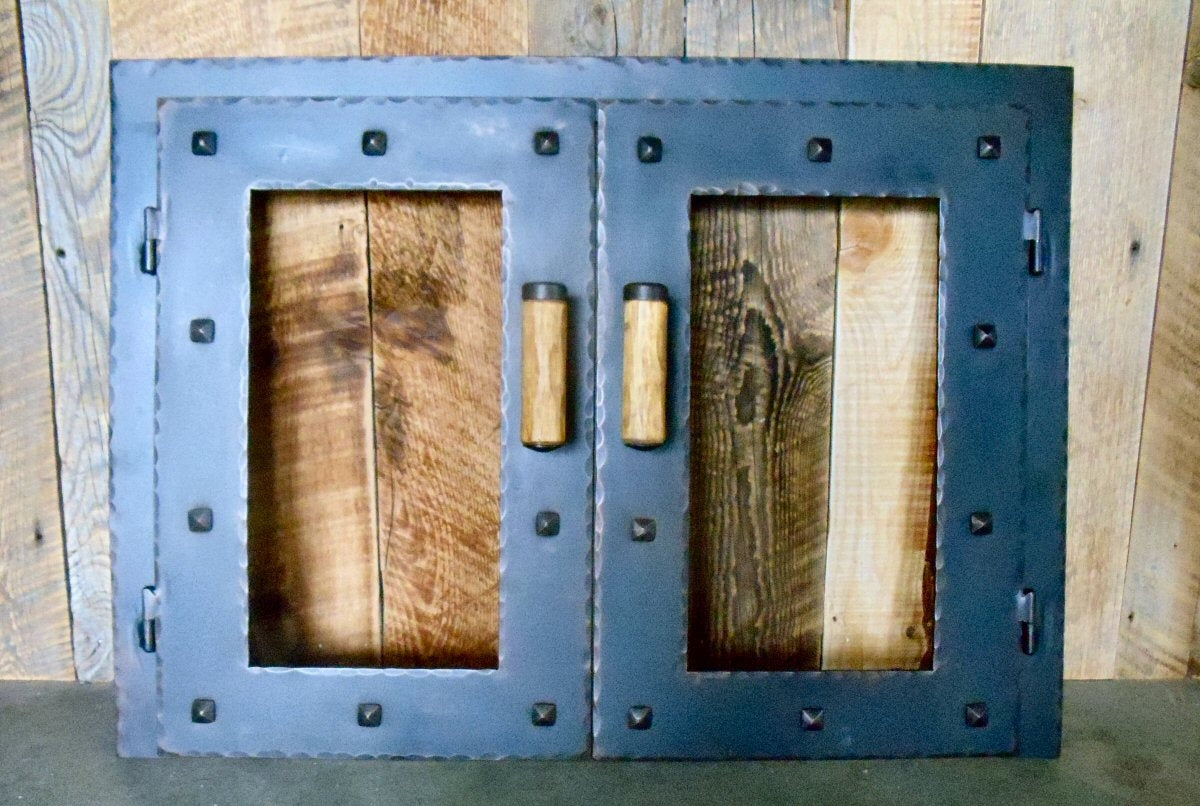
Go Custom
If your pizza oven has a non-standard design, consult with a local metalworker or specialist to create a custom hinged door that aligns perfectly with your oven's contours.

Unlock Your Oven’s Potential
Installing a hinged pizza oven door is a small project with big returns. From enhanced heat retention to a safer, more convenient cooking experience, it’s an upgrade every pizza oven owner should consider. Plus, with the ability to do it yourself, you gain the satisfaction of knowing you’ve contributed to the ultimate backyard culinary setup.
Feeling inspired? Grab your tools, roll up your sleeves, and turn your pizza oven into a cooking powerhouse. For more tips and guides like this, be sure to bookmark this page or share it with friends who love DIY and great food as much as you do.