


Home
>
Expert Guides & Installation Tips
>
How to Install Joist Hangers: Secure Your Build with Confidence

How to Install Joist Hangers: Secure Your Build with Confidence
by Maddison Mellem on Aug 29, 2025When you're working with beams, decks, or structural framing, joist hangers are essential for creating strong, lasting connections. At Old West Iron, we don’t just supply decorative iron hardware—we forge rugged, high-quality joist hangers that are built to perform and meant to be seen.
If you’re new to using joist hangers, or just want to make sure your installation holds up for generations, this article breaks down the basics and points you toward our detailed installation guide.
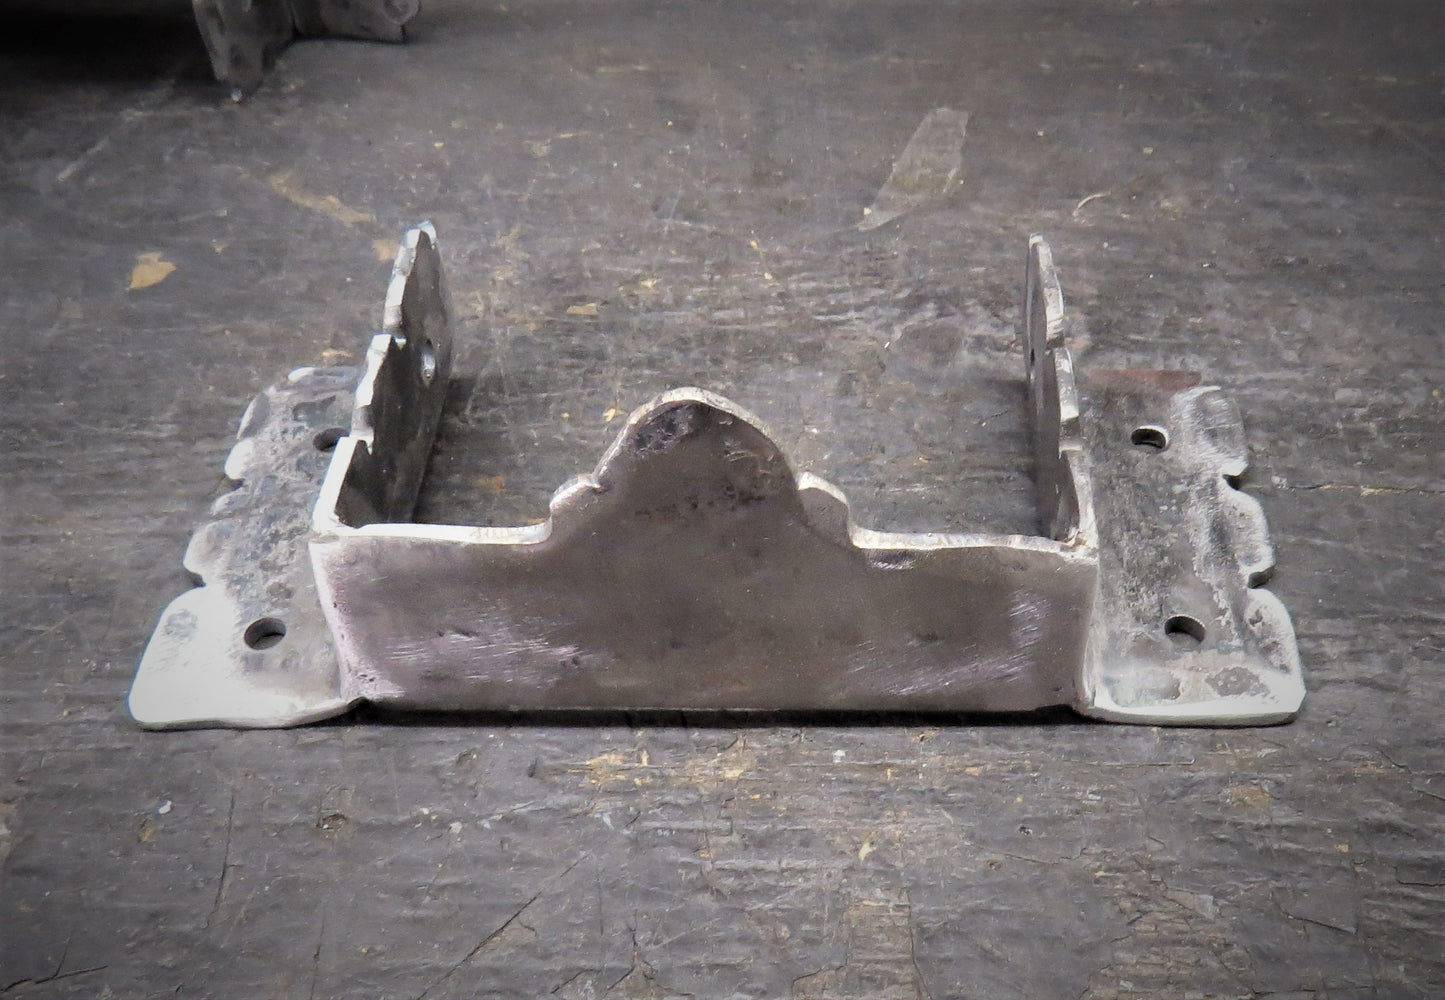
What Are Joist Hangers?
Joist hangers are metal brackets used to anchor horizontal joists to vertical framing elements like beams or ledgers. They provide a load-bearing cradle that holds the joist in place and transfers weight safely into the structure.
Our forged and decorative joist hangers are ideal for:
-
Decks and porches
-
Timber frame trusses
-
Ceiling beams
-
Rustic interiors or outdoor pavilions

What You’ll Need
Before installing your joist hangers, make sure you have:
-
The correct size joist hangers for your lumber
-
Structural screws or nails (check your local code)
-
A drill or hammer
-
A level or square
-
Pencil for marking

Basic Installation Steps
-
Mark the Joist Location
Use a level or framing square to mark where the joist will attach to your ledger or beam. -
Hold the Joist Hanger in Place
Align it with your markings and ensure it's flush with the surface. -
Attach One Side
Secure one side of the hanger with structural fasteners. Use all the pre-punched holes for maximum strength. -
Insert the Joist
Slide the joist into the hanger and check for fit and level. -
Secure the Other Side
Fasten the opposite side of the hanger, making sure the joist is snug and flush. -
Toe-Nail or Add Through-Fasteners
For additional strength, drive nails or screws through the sides into the joist itself.
Tips for Stronger Installs
-
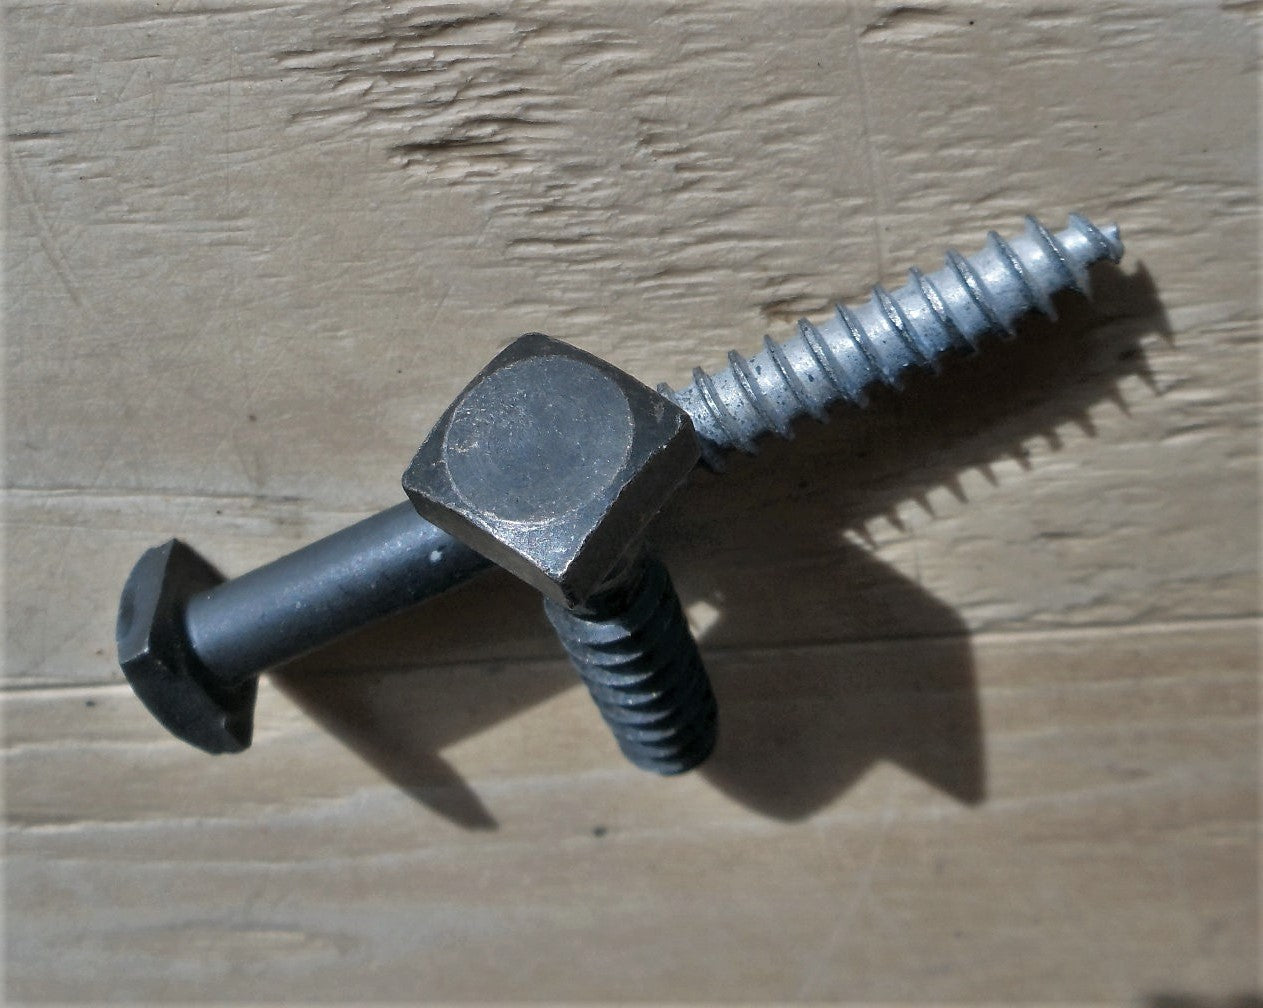
Always use the right fasteners—not drywall screws or random nails. Structural-rated screws or joist hanger nails are essential.
-
If using decorative joist hangers, pair them with matching lag bolts or square head fasteners for visual impact.
-
For outdoor builds, use weather-resistant finishes like black powder coat or sealed raw iron.
Need More Detail?
For a deeper walkthrough, including visuals and pro tips, check out our full blog:
🔗 How to Properly Install Joist Hangers – A Step-by-Step Guide
Old West Iron: Forged for function. Designed to hold.
Explore our full line of Joist Hangers & Beam Brackets and complete your timber framing the right way.