Home
>
Old West Iron Blog: Craftsmanship, Heritage & Hand-Forged Expertise
>
How to Create the Ultimate Cozy Window Seat

How to Create the Ultimate Cozy Window Seat
by Maddison Mellem on Dec 11, 2024
A cozy window seat is more than just a functional addition to your home—it’s a snug retreat where you can curl up with a good book, sip your favorite coffee, or simply bask in natural light while watching the world go by. Window seats and nooks have graced homes and even old castles for centuries, providing charm, comfort, and sophistication.
If your home doesn’t already have a built-in window seat, don’t feel discouraged. With a bit of planning, effort, and creativity, you can design your very own ultimate cozy nook tailored to your style and needs. This guide will walk you through every step to build the perfect spot for relaxation.

Why Build a Window Seat?
Before we get started, here’s why creating a window seat is an excellent idea. Beyond giving you a tranquil spot to unwind, it enhances your home’s charm and practical value:
- Enjoyment – A peaceful place to relax, read, or work.
- Aesthetic Appeal – Adds architectural interest to your home.
- Resale Value – Enhances your home’s desirability in the eyes of prospective buyers.
- Functionality – Can include extra storage or act as a design focal point in your living space.
Now, ready your tools and inspiration! Here’s how to transform any window into your next favorite corner of the house.

1. Choose a Well-Suited Window
Not all windows are created equal for a window seat, so selecting the right one is the foundation of your project. Look for:
- Wide Windows at Low Heights – These provide ample natural light and an ideal height for creating a bench directly below.
- Bay Windows – Perfect for creating a built-in nook with extra depth and drama.
- Views That Inspire – A stunning view of your garden, the sky, or even a bustling street can enhance the window seat experience.
However, don’t despair if your window isn’t a perfect match. With some thoughtful planning, almost any window can be adapted into a cozy seat!
2. Take Proper Measurements (And Write Them Down!)
Accurate measurements are non-negotiable if you want a window seat that fits snugly and looks professional. Here’s what to measure:
- Width of the Window – Measure the width across the base of the window to determine the length of your bench.
- Height from the Floor – This will dictate how tall the bench is. Aim for a comfortable sitting height, similar to a regular chair. If you're working with a deep windowsill, you may want to leave your bench shorter so that the sill can be used as a side table.
- Window Frame Dimensions – If building a fully enclosed nook, you’ll also need the vertical measurements of your window.
- Angles (If Applicable) – For bay or arched windows, carefully note each angle.
These numbers will guide your shopping for materials and ensure every cut is precise. Write them down and double-check before making any cuts!
:strip_icc()/101745090-a8d5df982358466da31eafda923e7b86.jpg)
3. Choose a Style
Your window seat should integrate seamlessly with the existing style of your home. Popular styles include:
- Victorian-Inspired – Fancy trims, scalloped edges, and grand flourishes for a timeless, elegant look.
- Rustic Cabin – Straightforward lines, reclaimed wood, and earthy charm for a natural, cozy vibe.
- Modern Minimalist – Clean lines, neutral colors, and a space-saving design for a contemporary approach.
Choosing a style upfront ensures that every detail—from the type of wood you buy to the finishing touches—complements the rest of your space.

4. Build Your Bench Structure
Here’s where the magic happens! Most window seats share the same basic construction process:
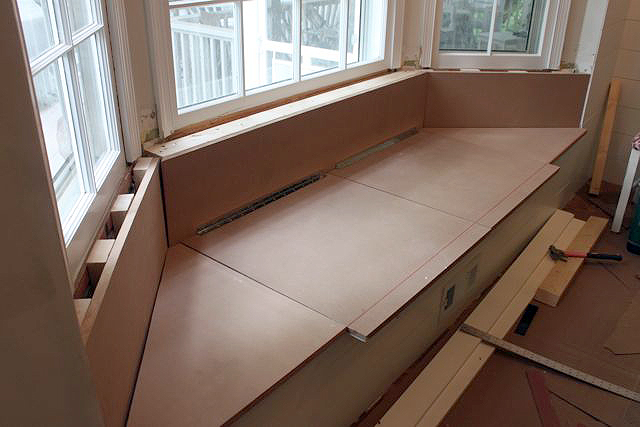
- Anchor the Frame – Fix the frame directly to your wall using sturdy brackets and fasteners.
- Determine the Depth – Build the frame out to your desired depth (how far the bench extends into the room).
- Install the Seat – Secure the seating surface; ensure it’s even and can support weight comfortably.
- Add Finishing Details – Cover the frame with wood panels, trim, or even extend your baseboards for a built-in effect.
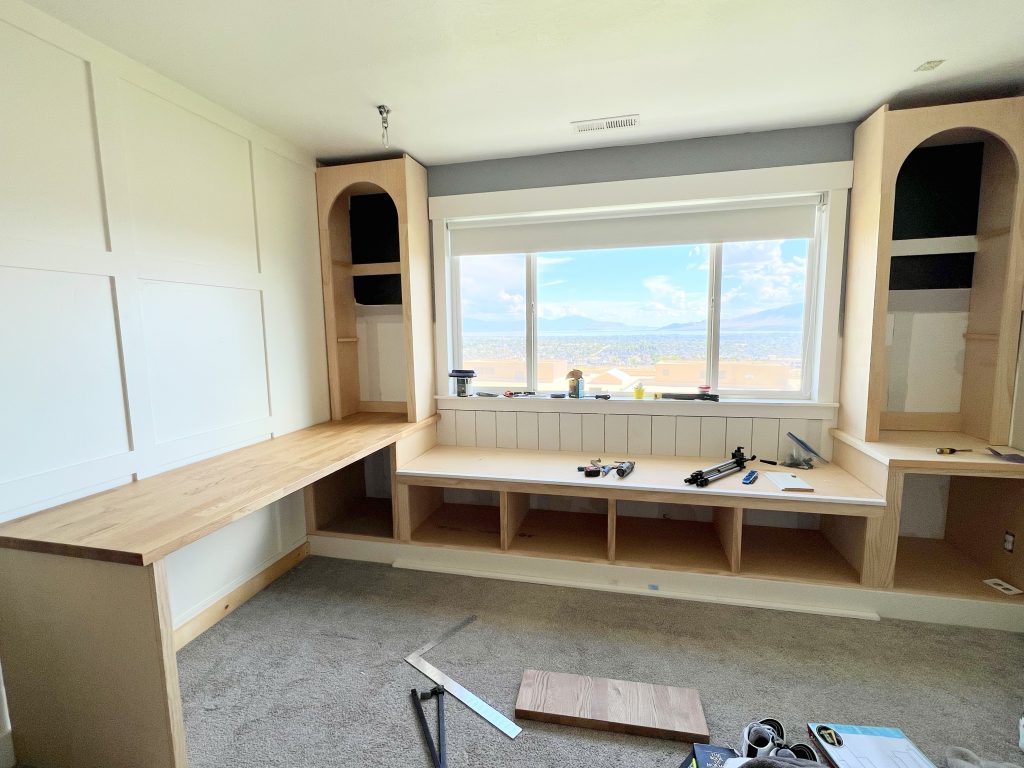
For added functionality, consider creating storage under the seat with cubbies, cabinets, or hidden pull-out drawers. This not only amplifies usability but also keeps your space clutter-free.

5. Optional Add-Ons to Elevate Your Nook
If you want to go all out, add custom details to truly transform your window seat into a dreamy retreat. Our favorite add-ons include:
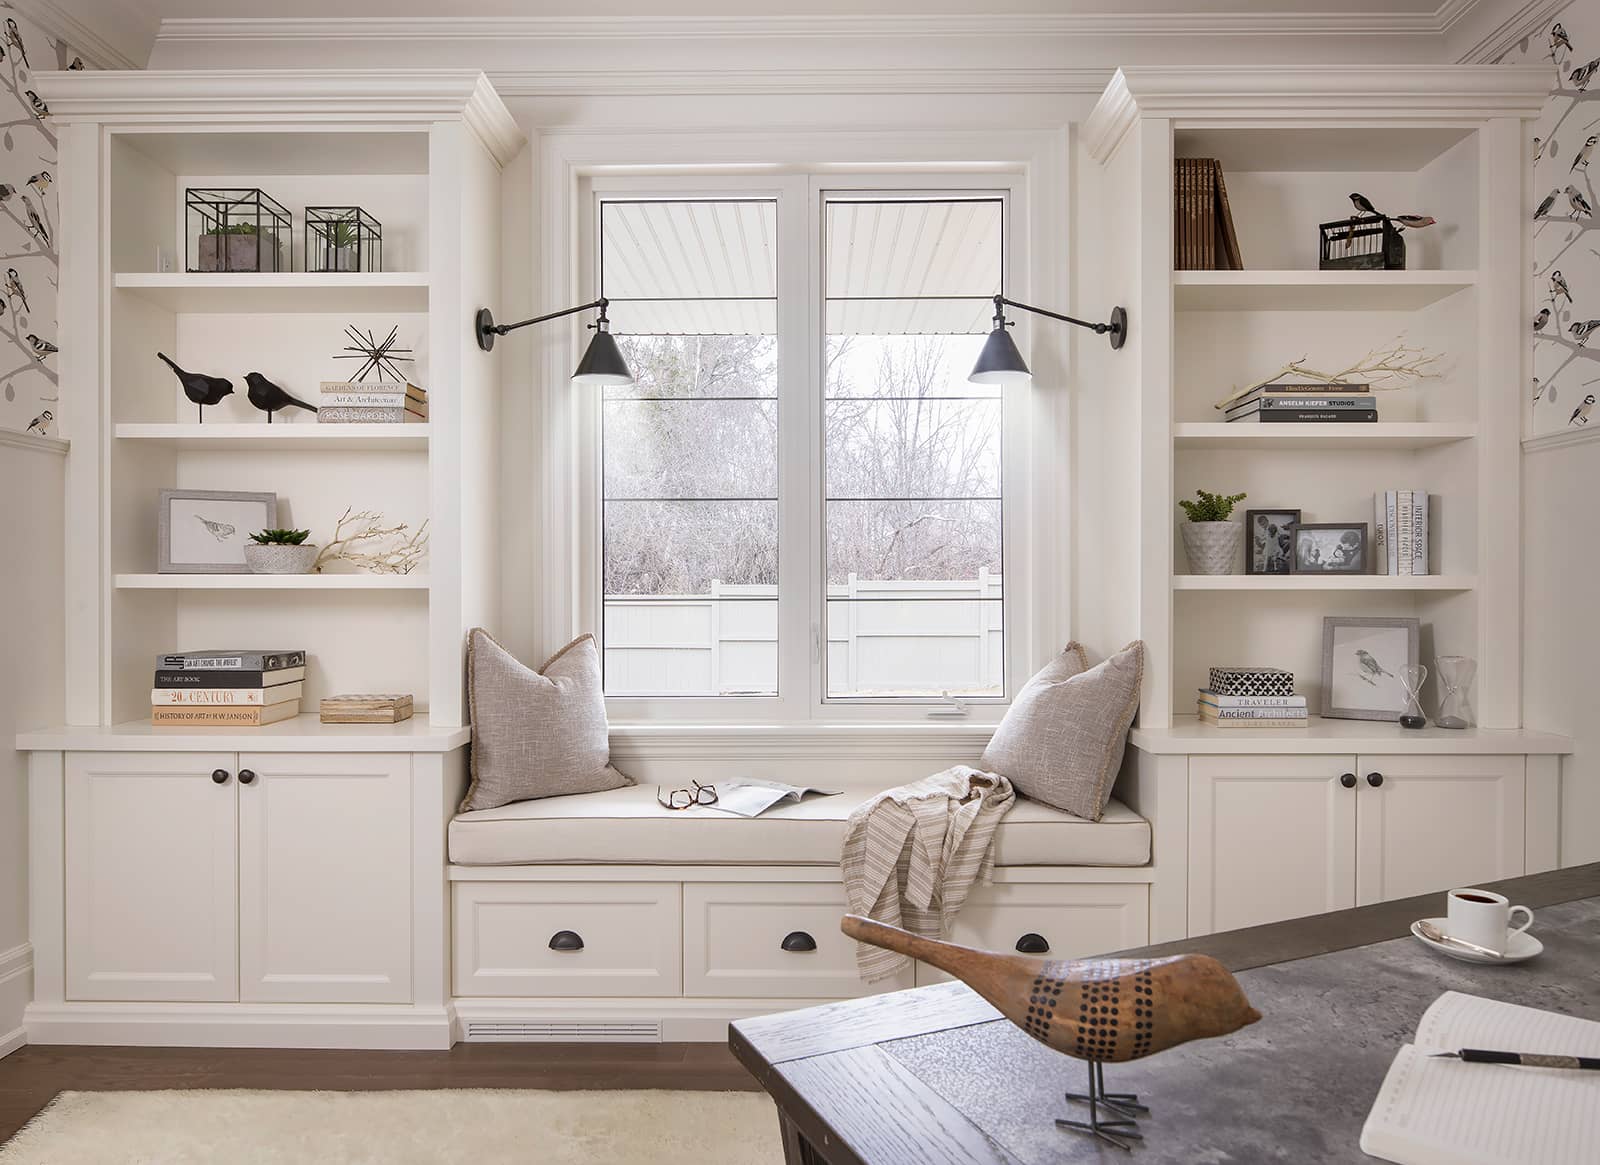
- Bookshelves or Cabinets – Flanking the seat with shelves or cabinets maximizes vertical space and creates a small library feel.
- Overhead Details – Install a false ceiling or cabinets above to enclose the space and make it even cozier.
- Built-In Storage – Use drawers or hinged lids under the bench to store blankets, books, or anything you want hidden yet accessible.
While these add-ons take extra effort, they can elevate your window seat to an entirely new level of sophistication.

6. Add the Finishing Touches
This is where your window seat comes to life! After construction, finesse the look with decorative elements that reflect your personality:
- Paint or Stain – Match the seat’s color to your home’s interior palette. A polished stain can highlight natural wood elements, while paint can create contrast or unity.
- Cozy Cushions and Pillows – Choose soft, comfortable cushions and add layered throw pillows. Experiment with textures and prints for a tailored look.
- Blankets – Toss in a cozy throw blanket for added warmth and charm.
- Curtains or Blinds – If privacy or sunlight control is an issue, opt for elegant curtains or sleek blinds to complete the nook. Some with false ceilings choose to add curtains to the outside of the nook for a snug, private space.
Don’t forget lighting! If your nook is for evening reading, an overhead sconce or nearby lamp could make a world of difference.
 7. Enjoy Your Window Seat Adventure!
You’ve done the work—now it’s time to enjoy it! Curl up with a novel, sip your morning coffee, or simply take a moment to gaze out the window. The ultimate cozy window seat is ready to serve as your personal sanctuary for years to come.

Why Stop at One?
Once you’ve built your first window seat, you might find yourself dreaming up new projects. After all, who wouldn’t want to multiply the cozy factor throughout their home? The possibilities are endless!

Maddison Mellem
Old West Iron
p- (844) 205-7266
f- (844) 205-7267


