


الرئيسية
>
Expert Guides & Installation Tips
>
Saddle Installation Guide: What to Know Before Your Builder Installs

Saddle Installation Guide: What to Know Before Your Builder Installs
بواسطة Maddison Mellem في Aug 29, 2025Shop Saddles & Multi-Directional Beam Hangers
Saddle-style beam hangers are essential for structural connections where beams intersect at angles, slopes, or multiple directions. But before your contractor drills the first hole or lifts the first beam, there are a few key things to know to ensure a smooth install and a secure, long-lasting result.
Whether you're planning a timber frame, pergola, truss system, or decorative beam layout, this guide will walk you through everything to prepare before professional installation.

What Is a Saddle Hanger?
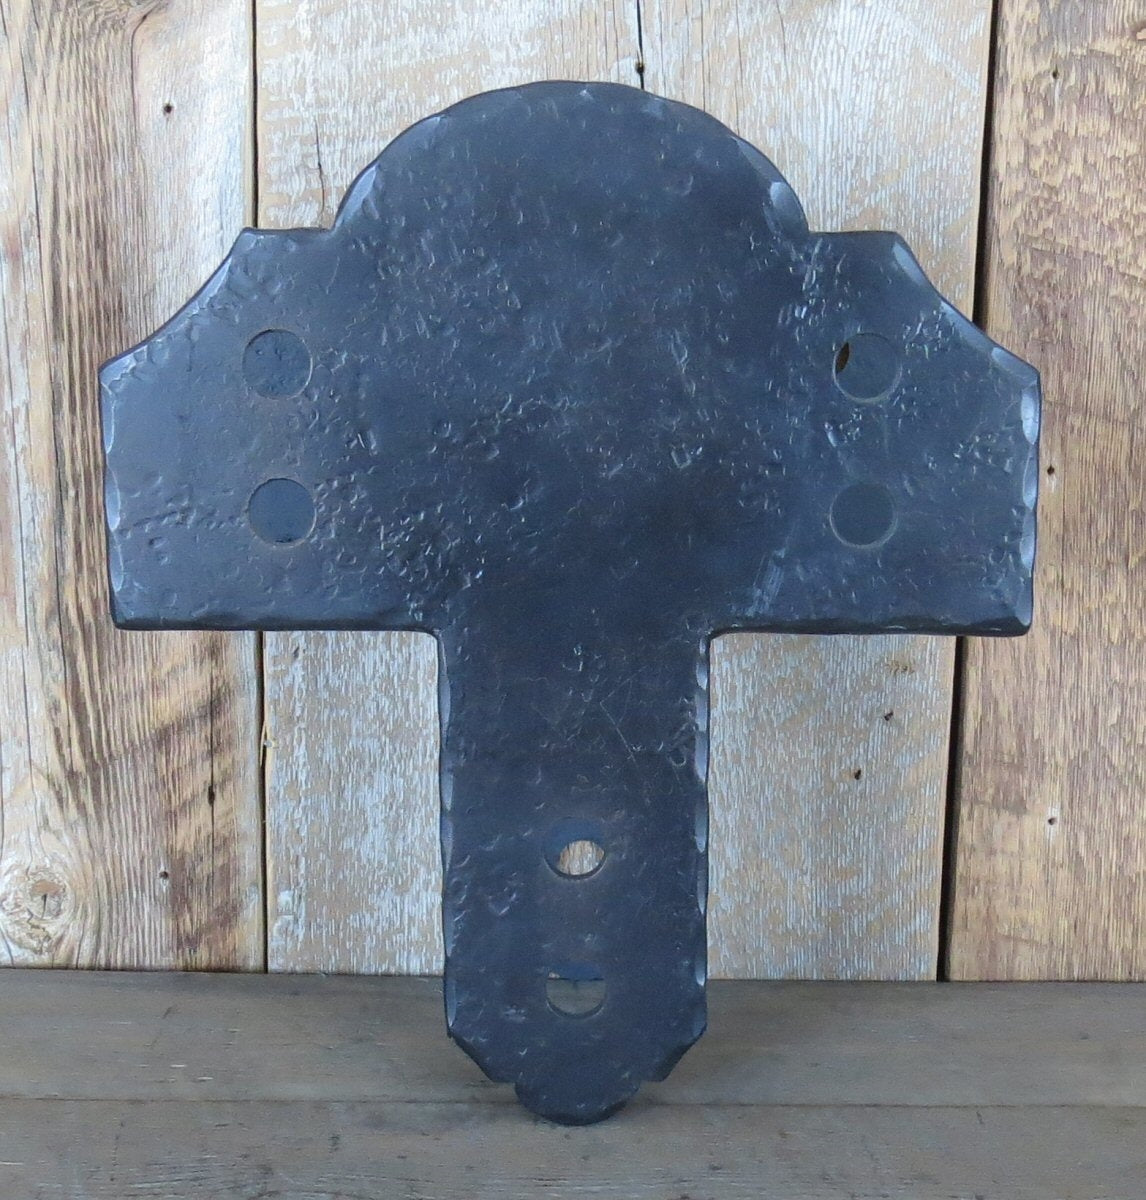
Saddles—also called multi-directional beam hangers—are custom-fit, metal brackets that wrap around the top and sides of a supporting post or column, allowing beams to connect from multiple angles.
They're commonly used in:
-
Open truss systems
-
Timber-frame ridge and hip connections
-
Exterior pergolas and pavilions
-
Decorative or functional roof framing
At Old West Iron, our saddles are hand-built from solid steel or wrought iron, customized to your beam sizes, load needs, and layout.

What to Do Before the Installer Arrives
1. Confirm All Beam Sizes
Measure (and re-measure) all beams and posts that will connect to the saddle. Beam width and height must be accurate to ensure a snug, supportive fit. Saddles are fabricated based on these specs—even a ¼” difference matters.
Tip: Provide final finished beam sizes, especially if they’re being planed, sanded, or wrapped.
2. Know Your Angles
Are the beams meeting at a slope? Is this a flat (horizontal) connection or a pitched roofline? You'll need to identify:
-
Pitch angle of any sloped beams (in degrees or rise/run)
-
Beam orientation (equal pitch, offset, perpendicular, etc.)
-
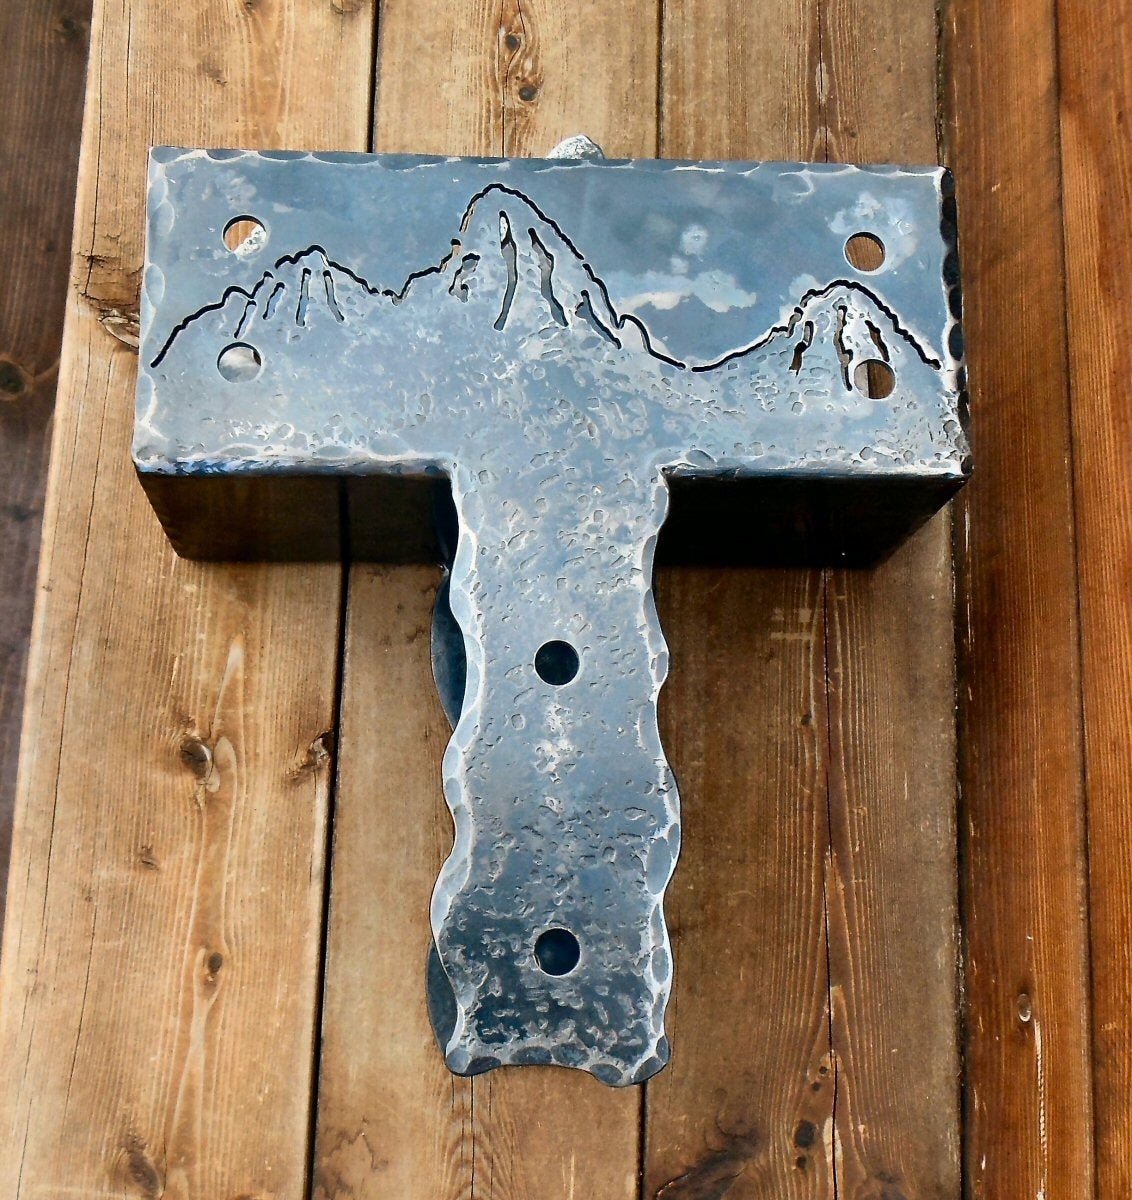
Beam layout direction (T-joint, X-joint, wraparound, etc.)
Sharing these details with us during the order process ensures your saddle is fabricated for a perfect fit.
3. Plan for Fastener Type & Placement
Before install, you’ll want to decide:
-
Will you use lag bolts, timber screws, or through bolts?
-
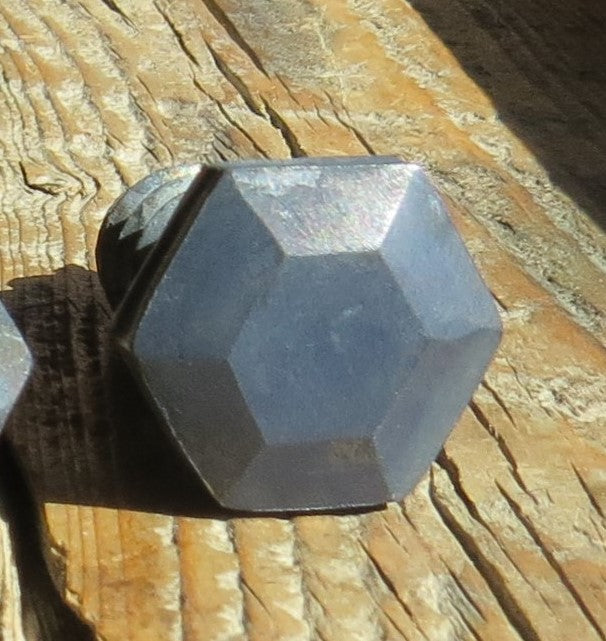
Do you want decorative rivets on visible faces?
-
Where should the holes be placed for maximum strength and aesthetics?
Pro tip: Structural connections should always use lag or structural fasteners—decorative rivets are for appearance only and should not be relied on to carry weight.
4. Finish & Weather Protection
Will your project be indoors, exposed to the elements, or somewhere in between? We offer a range of finishes, including:
-
Black powder coat (durable & weather-resistant)
-
Sealed raw iron (industrial look with minimal rust)
-
Rusted patina (for vintage or Western appeal)
-
Custom finishes on request

5. Have a Dry Fit Plan
Before mounting, ask your contractor to dry-fit the saddle with beams in place. This confirms alignment and gives the opportunity to make slight adjustments before drilling.
Optional Custom Features
You can customize your saddle with:
-
Beam notching options
-
Extra-deep wraparound sides
-
Open vs. closed top plate
-
Added flanges or straps for vertical tie-ins
-
Matching bolt sets, clavos, or washers
If you’re not sure what your layout requires, we’re happy to collaborate with your builder or engineer.
Install Confidence Starts with Smart Prep
When it comes to structural hardware, precision and planning make all the difference. Taking time to prepare before installation means your saddle fits right the first time—and your beams stay solid and beautiful for years to come.
Explore our full line of Saddles & Multi-Directional Hangers to find the perfect solution for your beam layout. Built by hand. Backed by experience.
Old West Iron: Forged for form, strength, and legacy.