


Inicio
>
Expert Guides & Installation Tips
>
How to Install Old West Iron Handrails: A Step-by-Step Guide

How to Install Old West Iron Handrails: A Step-by-Step Guide
por Maddison Mellem el Jul 26, 2025When safety meets craftsmanship, you get something built to last—and built to look good doing it. At Old West Iron, our hand-forged iron handrails are perfect for porch steps, staircases, walkways, and interior accents where both function and style matter.
If you’ve just ordered one of our iron handrail kits, or are planning to, this guide will walk you through everything you need to know for a successful installation.

Tools You’ll Need
Before you begin, gather the following tools (most can be found at your local hardware store):
-
Power drill and drill bits
-
Level
-
Tape measure
-
Socket wrench or impact driver
-
Pencil or chalk for marking holes
-
Anchors (for masonry or concrete installations)
-
Screws or lag bolts (included with most kits or available separately)

Step-by-Step Installation
1. Unpack Your Handrail Kit
Your Old West Iron handrail kit comes with:
-
The hand-forged iron rail
-
Mounting brackets (pre-welded or included as separate components)
-
Matching screws or lag bolts (depending on the model)
Inspect all parts before installation to ensure there’s no damage and everything is included.
2. Position the Handrail
Hold the handrail in its intended position along your steps or walkway. Use a level to ensure it is properly angled and even. Mark the mounting hole positions on the wall or post with a pencil or chalk.
Tip: For steps, install the bottom bracket first, then align the top bracket to the correct angle for consistency.
3. Drill Pilot Holes
Use an appropriate drill bit based on your mounting surface:
-
For wood, a standard drill bit works fine.
-
For brick, stone, or concrete, use a masonry bit and anchors for added hold.
Drill to the recommended depth and width for the fasteners you are using.
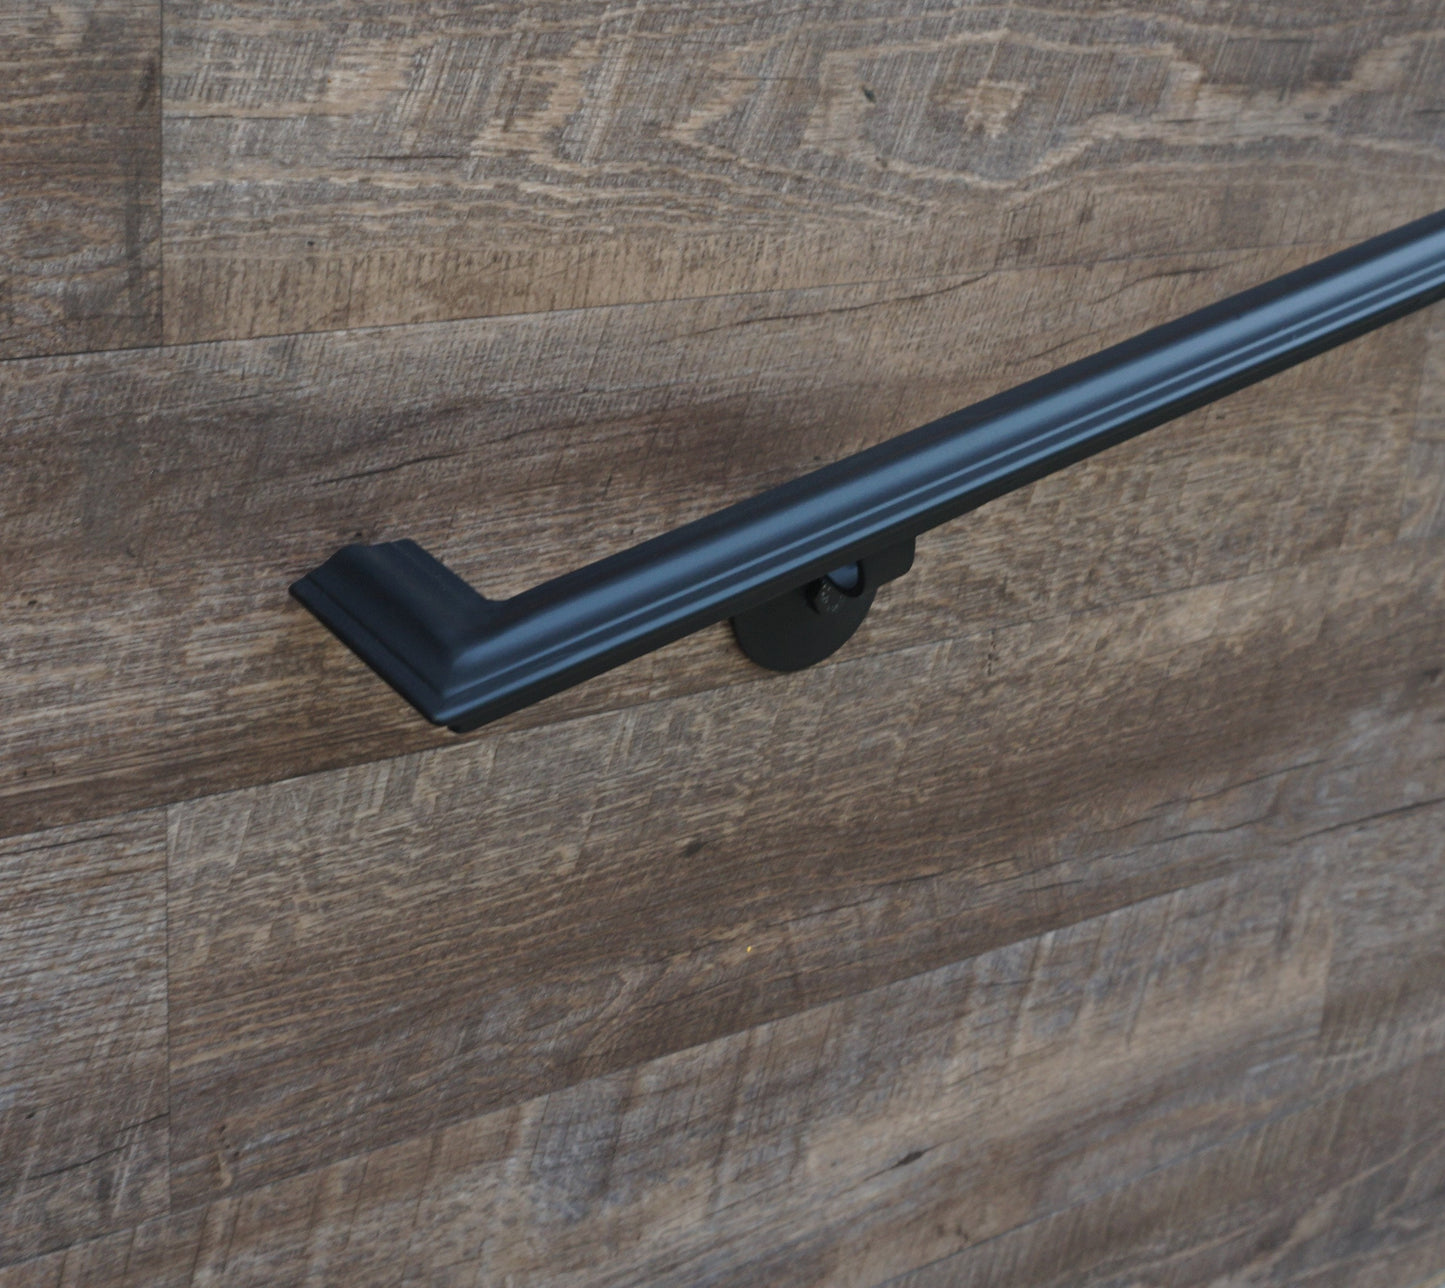
4. Attach the Brackets
Using a socket wrench or impact driver, fasten the mounting brackets to the wall, post, or step surface. Double-check alignment as you tighten.
For added strength on masonry, use heavy-duty anchors rated for handrails.
5. Secure the Handrail
If your handrail and brackets are not pre-welded, now’s the time to attach the rail to the brackets using the included hardware. Tighten all screws until secure.
Do one last pass with the level to make sure everything is plumb and properly aligned.

Optional Tips
-
Touch-up paint: If any hardware was scratched during install, use matching touch-up paint or black enamel to protect against rust.
-
Sealed or powder-coated finishes: These are already weather-resistant, but a coat of clear sealer can add years of protection in harsh climates.
-
Need a custom size or bracket layout? Contact us—we build to fit.
Built to Last, Easy to Install
Old West Iron’s hand-forged handrails are not only beautiful and durable—they’re designed for straightforward installation by homeowners and builders alike. Whether you’re adding safety to your porch steps or upgrading a staircase with timeless ironwork, you’ll find our handrails bring both integrity and old-world charm.
Ready to install your own?
Explore our full line of Handrails and complete your home with strength you can count on—and craftsmanship you can feel.
Old West Iron: Hardware that holds history.